

Understanding the Damage Before You Start
Not all drywall damage is created equal. Before reaching for a putty knife, take a moment to assess what you're dealing with - the right repair method depends entirely on the size and cause of the damage.
- Hairline cracks: Thin surface cracks, often caused by settling or temperature fluctuation. Usually no deeper than the paint or tape layer.
- Small holes (under 1 inch): Nail pops, picture hooks, or doorknob dings. These need minimal material and dry quickly.
- Medium holes (1-6 inches): Anchors pulled from walls, accidental impacts. Require a backing method or a self-adhesive mesh patch.
- Large holes (over 6 inches): These need a cut-and-replace approach using a new drywall piece secured to backer boards.
Also consider the cause of the damage. Cracks near door frames or windows may signal structural movement or moisture issues. If you notice soft, discolored, or crumbling drywall, address any underlying water source before repairing the wall.
What you will need
Tools and Materials You'll Need
Gathering everything before you begin saves trips to the hardware store and keeps the job moving smoothly.
Putty knife or drywall knife (4-6 inch)
Applies and smooths joint compound over cracks and small holes.
Self-adhesive mesh patch
Provides backing and structure for medium holes (1-6 inches) without cutting.
Pre-mixed joint compound ("mud")
Fills and skins over repairs; requires multiple thin coats.
Drywall screws and backer boards (1x3 or 1x4 wood strips)
Creates a solid anchor for large drywall patch pieces.
120- and 220-grit sandpaper or sanding sponge
Smooths dried compound between coats and before painting.
Primer
Seals the repair so paint adheres evenly and hides the patch.
Dust mask and safety glasses
Protects against fine drywall and compound dust during sanding.
Step-by-Step Repair Instructions
Follow these steps based on your damage type. Steps 1-3 apply to all repairs; subsequent steps scale with the size of the hole.
Clean and Prep the Damaged Area
Remove any loose debris, crumbled drywall, or peeling paint around the damage. For nail holes, push the nail fully in or pull it out. For cracks, use a putty knife to widen the crack slightly into a V-shape - this gives the compound something to grip rather than just bridging the surface.
Apply the First Coat of Joint Compound
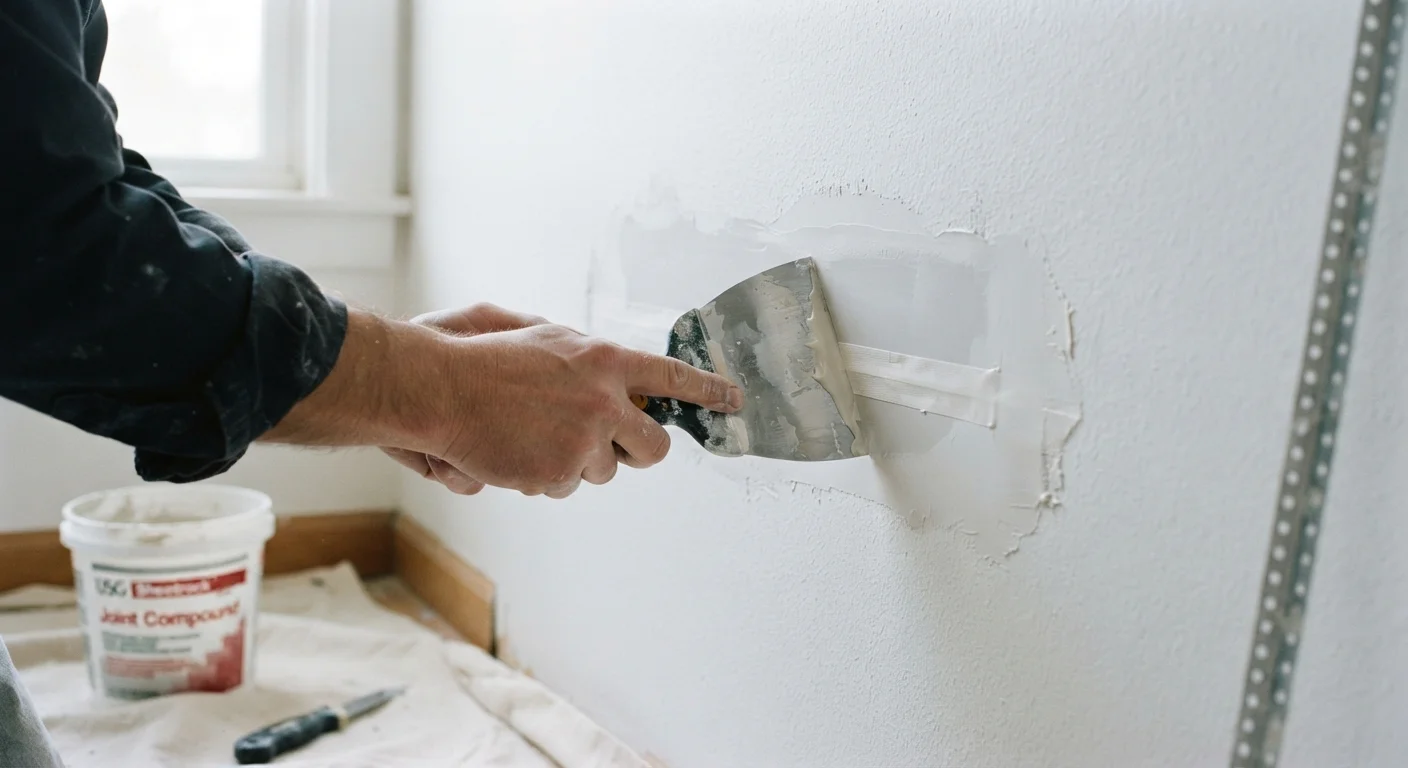
For hairline cracks and nail holes, press a small amount of pre-mixed joint compound into the void with your putty knife, then scrape off the excess so the surface is nearly flush. For medium holes, press a self-adhesive mesh patch over the hole first, then apply compound over the mesh in thin, even strokes, feathering the edges outward about 2-3 inches beyond the patch.
Let It Dry Completely, Then Sand
Allow the first coat to dry until it turns from a darker gray to a consistent bright white - typically 4-8 hours depending on humidity and coat thickness. Once dry, lightly sand with 120-grit sandpaper to knock down ridges and tool marks. Wipe off dust with a dry cloth before the next coat.
Apply a Second (and Third) Coat
Apply a second thin coat, feathering it even wider than the first - 4-6 inches beyond the patch edge. This blending is what makes repairs invisible. Let dry, sand lightly with 220-grit, and repeat if needed. Most repairs look best with two to three coats total.
Patch Large Holes with a Drywall Insert
For holes over 6 inches: use a drywall saw to cut the hole into a clean rectangle. Cut two backer boards (1x3 or 1x4 strips) longer than the rectangle's height and slide them into the opening, securing them to the existing drywall edges with drywall screws. Cut a new drywall piece to fit the opening, screw it to the backers, then apply joint tape over all seams before mudding as described in Steps 2-4.
Prime and Paint
Once the final coat is dry and sanded smooth, apply a coat of drywall primer to the repaired area. This seals the compound so paint doesn't absorb unevenly - a step that's easy to skip but makes a big visual difference. After primer dries, paint with your wall color. You may need two paint coats to fully blend the sheen.
Match Your Wall Texture Before Painting
If your walls have a texture - like orange peel or knockdown - a smooth patch will stand out even under paint. Test an aerosol texture spray on cardboard to match the pattern before applying it to the wall. Allow texture to dry fully before priming and painting.
Common Mistakes and How to Avoid Them
Even careful DIYers run into trouble. Here are the most frequent pitfalls and how to sidestep them:
- Applying too thick a coat: Joint compound shrinks as it dries. Thin coats (1/8 inch or less) dry faster and crack less than thick ones.
- Skipping sanding between coats: Light sanding between each dried coat creates a smooth base for the next layer and improves adhesion.
- Painting too soon: Even if compound feels dry to the touch, paint applied before it has cured fully will cause bubbling or uneven sheen. Allow at least 24 hours per coat, longer in humid conditions.
- Mismatched texture: If your wall has a textured finish (orange peel, knockdown), replicate it before painting. Aerosol texture sprays can help, but test on cardboard first.
Check for Hidden Wiring or Plumbing First
Before cutting into any wall for a large patch, use an inexpensive stud finder with AC detection to check for electrical wires or pipes behind the drywall. Cutting into live wiring is a serious safety hazard. If you're unsure what's behind the wall, consult a licensed electrician or plumber before proceeding.
The content on this site is for informational purposes only and is not a substitute for professional advice. Always consult a qualified professional for guidance specific to your situation.