

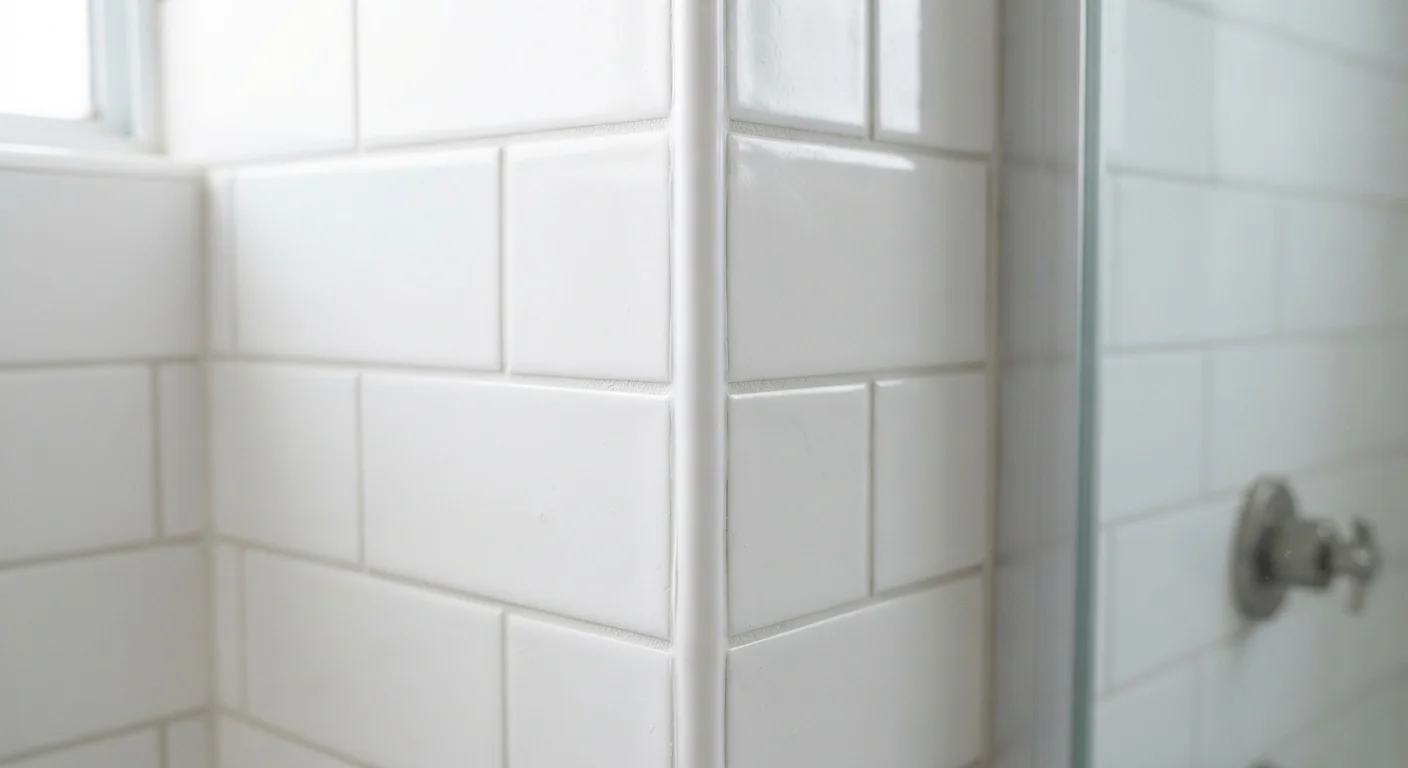
Option A
Grout
The rigid, sand-based filler built for tile field joints.
Best for: Filling the uniform spaces between tiles on flat, stable surfaces like floors and shower walls.
Option B
Caulk
The flexible, waterproof sealant designed to handle movement.
Best for: Sealing corners, changes in plane, and gaps where two different surfaces meet.
What Each Material Is Made Of - and Why It Matters
Grout is a cement-based (or epoxy-based) compound mixed to a paste and packed into the joints between tiles. Once it cures, it becomes rigid and stone-like. That rigidity is a feature on stable, flat surfaces, but it becomes a liability the moment a joint needs to flex even slightly.
Caulk is a polymer-based sealant - most commonly silicone or latex acrylic - that cures into a rubbery, flexible bead. It bonds to dissimilar materials, stretches without cracking, and creates a watertight seal. Unlike grout, caulk is sold in tubes and applied with a caulk gun rather than a float or grout bag.
Understanding this core difference - rigid versus flexible - is the foundation for every placement decision you'll make during a tile project. For a deeper look at how these decisions fit into the broader tiling process, see our complete tile installation guide.
| Criterion | Grout | Caulk |
|---|---|---|
| Composition | Cement or epoxy (rigid when cured) | Silicone or latex polymer (flexible) |
| Best placement | Between tiles on flat, stable surfaces | Corners, plane changes, mixed-material joints |
| Flexibility | None - cracks under movement | High - stretches and compresses |
| Water resistance | Moderate (needs sealing in wet areas) | High (especially 100% silicone) |
| Application method | Float or grout bag, wiped with sponge | Caulk gun, smoothed with wet finger |
| Repairability | Re-grout with oscillating tool | Peel or cut out, re-apply easily |
| Color matching | Wide color range | Color-matched options widely available |
Where Each One Belongs: The Practical Rules
The industry rule of thumb, established by guidelines from organizations such as the Tile Council of North America (TCNA), is straightforward: grout fills the field; caulk seals the change.
- Use grout between tiles on a continuous, flat plane - the middle of a shower wall, a floor field, or a backsplash - where tiles sit on the same substrate and move as one unit.
- Use caulk wherever two planes intersect (floor-to-wall, wall-to-wall corners), wherever tile meets a different material (tile meeting a bathtub, a countertop, or a window frame), and wherever structural movement is likely.
A common mistake is grouting every joint including corners. Because adjacent walls are anchored to different structural members, they move independently. Grout in that corner will crack - often within the first heating season - and open a path for water to reach the substrate, where it can cause mold and rot.
#1
Cause of tile shower failures
According to the Tile Council of North America, improper joint filler selection - specifically grouting movement joints - is among the leading causes of tile installation failures.
1/8"
The grout-type dividing line
Industry standards recommend sanded grout for joints wider than 1/8 inch and unsanded grout for joints at or below that threshold to prevent cracking or incomplete fill.
Matching Appearance and Choosing the Right Type
One reason homeowners reach for grout in corners is aesthetics - they worry caulk will look out of place. In practice, most major grout manufacturers offer color-matched caulk in the same palette as their grout lines. Using the same color creates a visually seamless result that most people won't notice upon inspection.
When selecting caulk for wet areas, choose 100% silicone or a siliconized latex formula labeled for kitchen and bath use. Pure silicone is the most water-resistant and longest-lasting, though it's harder to tool and requires mineral spirits for cleanup. Siliconized latex blends are easier to apply and paintable, making them suitable for drier areas or places where you need to paint over the joint.
For grout, the two main types are sanded (for joints wider than 1/8 inch) and unsanded (for joints 1/8 inch or narrower). Using the wrong type can result in cracking or a finish that doesn't fill the joint properly.
Don't Skip Sealing Your Grout
Even when grout is used correctly in field joints, most cement-based grouts are porous and should be sealed with a penetrating grout sealer once fully cured. Sealing helps repel moisture and staining, particularly in shower enclosures and kitchen backsplashes. Epoxy grout is non-porous and does not require sealing. Check your grout manufacturer's guidance for specific recommendations.
Application Tips and Common Mistakes to Avoid
Both materials require a clean, dry surface to adhere properly. When replacing old grout or caulk, remove all existing material with an oscillating tool or grout saw, then clean the joint with a mildew-removing cleaner and let it dry completely - typically 24 hours in a humid bathroom.
For grout: mix to a peanut-butter consistency, work it into joints diagonally with a rubber float, and wipe excess with a damp sponge in circular motions before it hazes. Allow full cure time (often 24-72 hours) before exposing the surface to water.
For caulk: cut the tube tip at a 45-degree angle, apply steady pressure along the joint, and smooth the bead with a wet finger or caulk tool. Remove tape (if used to create clean lines) before the caulk skins over. Most kitchen-and-bath caulks are water-ready within 24 hours, but check the product label for cure times.
The most common mistake with caulk is applying it over a damp or moldy joint - the caulk may adhere initially but will peel away as moisture undermines the bond. Take the extra time to prep properly and the seal will last for years.
The content on this site is for informational purposes only and is not a substitute for professional advice. Always consult a qualified professional for guidance specific to your situation.