

The Cleaning Gaps That Add Up Over Time
Most people have a reliable cleaning routine - counters wiped, floors vacuumed, bathrooms scrubbed. But there's a category of surfaces that rarely makes the weekly list, and over months, those gaps accumulate into genuine grime. The good news: none of these fixes are complicated. They just require knowing where to look.
If you've ever cleaned your home thoroughly and still noticed a stale or dusty smell lingering, these overlooked spots are often the culprit. Our guide on why your home smells musty even after cleaning explores how these hidden sources tie into broader odor issues.
Below are the spots most cleaning routines quietly skip - and exactly what to do about each one.
Door frames and the tops of doors
Door frames collect a surprisingly dense layer of dust and greasy residue, especially in kitchens and hallways. The flat top edge of a door itself is almost never wiped down and can accumulate visible buildup over just a few months. A slightly damp microfiber cloth run along both surfaces takes under a minute and removes what dry dusting misses.
Door frame tops can accumulate visible dust buildup in just a few months of neglect.
Light switches and electrical outlet covers
These are among the most-touched surfaces in any home, yet they're rarely on a cleaning checklist. Fingerprint oils, skin cells, and general grime build up quickly on switch plates. A lightly dampened cloth - not soaking wet - wiped over switch covers is sufficient for routine maintenance. For heavier buildup, a bit of diluted all-purpose cleaner works well, applied to the cloth rather than the surface directly.
Light switches are among the most-touched surfaces in any home, yet rarely get cleaned.
Baseboards
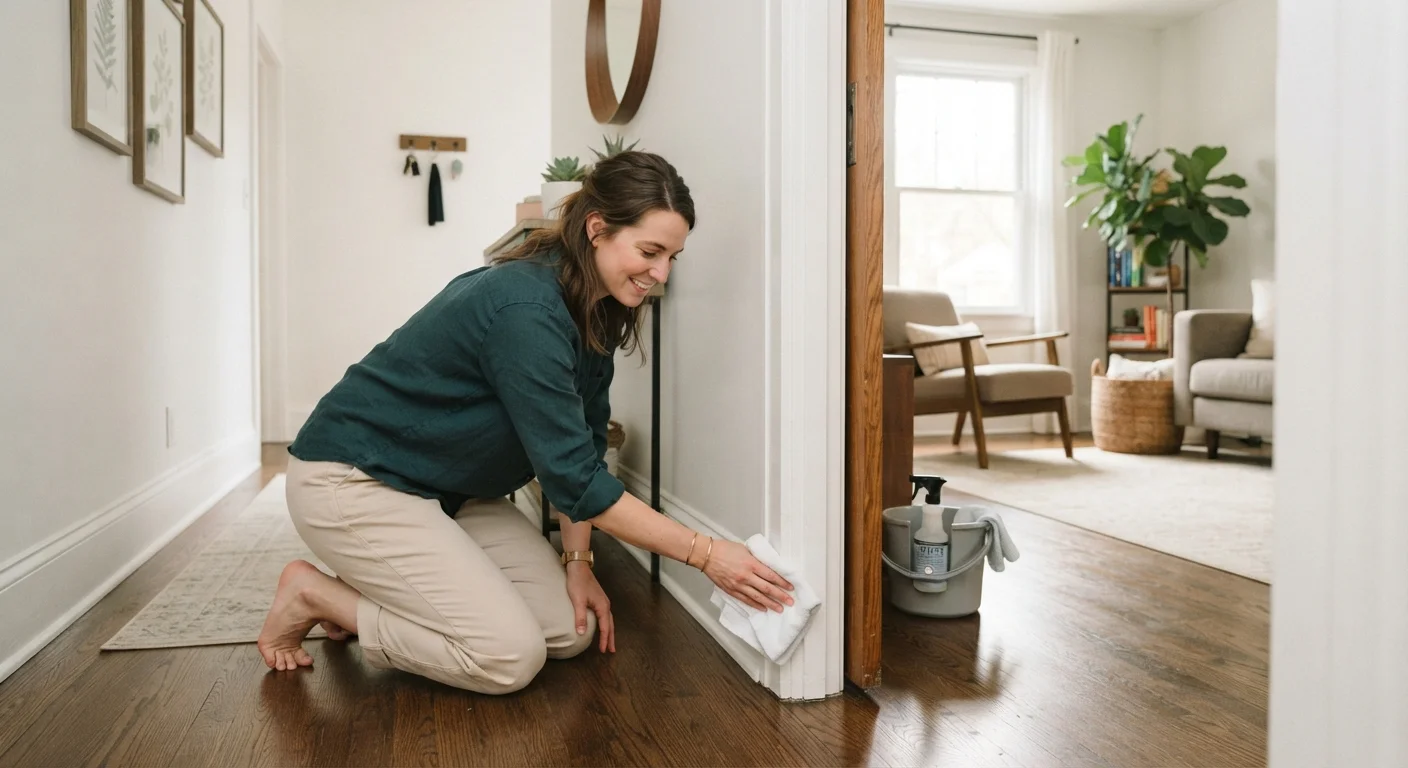
Baseboards sit at floor level, which means they're in the direct path of kicked-up dust, pet hair, and tracked-in debris. A vacuum with a brush attachment makes quick work of the initial pass, and a damp cloth handles the stuck-on grime. In high-traffic rooms, baseboards may need attention more often than once a month. Scuff marks from shoes can usually be lifted with a melamine foam eraser.
Baseboards sit in the direct path of kicked-up dust and debris every single day.
Heating and cooling vent covers
Vent covers trap dust and pet hair at a high rate because air is constantly being drawn through them. When coated with buildup, they can distribute that debris back into the room and degrade air quality. Remove the covers if they detach easily and rinse under warm water, or use a vacuum brush attachment directly on the slats. This is especially worth doing before allergy season.
Dusty vent covers can actively redistribute debris back into your living spaces.
Window tracks and sill grooves
Window tracks are narrow, dark, and often damp - ideal conditions for accumulated dirt and mold growth. A small brush (an old toothbrush works well) loosens debris, and a vacuum nozzle or damp cloth clears it out. This is one of the spots most often flagged during end-of-lease inspections - our end-of-lease cleaning checklist goes into detail on what landlords commonly look for.
Window tracks are a prime spot for mold growth due to trapped moisture and debris.
Cabinet tops and refrigerator surfaces
The area above kitchen cabinets and on top of the refrigerator is out of sight and therefore out of mind. These horizontal surfaces accumulate greasy dust - a combination of cooking vapors and airborne particles - that bonds to the surface over time. A degreasing cleaner applied to a cloth, rather than sprayed directly, is the most effective approach. Lining these surfaces with inexpensive shelf liner or paper makes future cleaning easier.
Cabinet tops collect greasy dust from cooking vapors that bonds tightly over time.
Behind and beneath large appliances
Behind the refrigerator and beneath the stove are two of the dustiest locations in most homes. Refrigerator condenser coils, typically located at the back or bottom, draw air through and collect lint and dust - which can affect appliance efficiency over time. Moving these appliances periodically to vacuum and wipe underneath isn't a weekly task, but doing it a few times a year makes a meaningful difference. A long, flexible brush tool helps reach condenser coils without moving the unit entirely.
Condenser coils caked in dust can affect refrigerator efficiency over time.
Building a Smarter Cleaning Habit
You don't need to tackle all of these in a single session. A practical approach is to rotate two or three of these spots into each regular cleaning day, so that over the course of a month, everything gets attention. Keeping a small microfiber cloth and a soft-bristled brush within reach makes it easy to hit these areas without breaking your flow.
Make it a monthly rotation, not a chore
Rather than trying to hit every overlooked spot in one session, assign two or three to each cleaning day throughout the month. Write them on a sticky note inside a cabinet door as a quick reference. This keeps the task manageable and prevents the buildup that makes deep cleaning feel overwhelming.
If you're navigating some common cleaning assumptions - like whether certain products actually do what they claim - it's worth checking out our look at cleaning myths that waste your time and products. And for households with animals, keeping a home clean with pets covers which of these hidden spots become especially problematic with fur and dander in the mix.
The content on this site is for informational purposes only and is not a substitute for professional advice. Always consult a qualified professional for guidance specific to your situation.