

Why Phone Transfers Go Wrong - and How to Prevent It
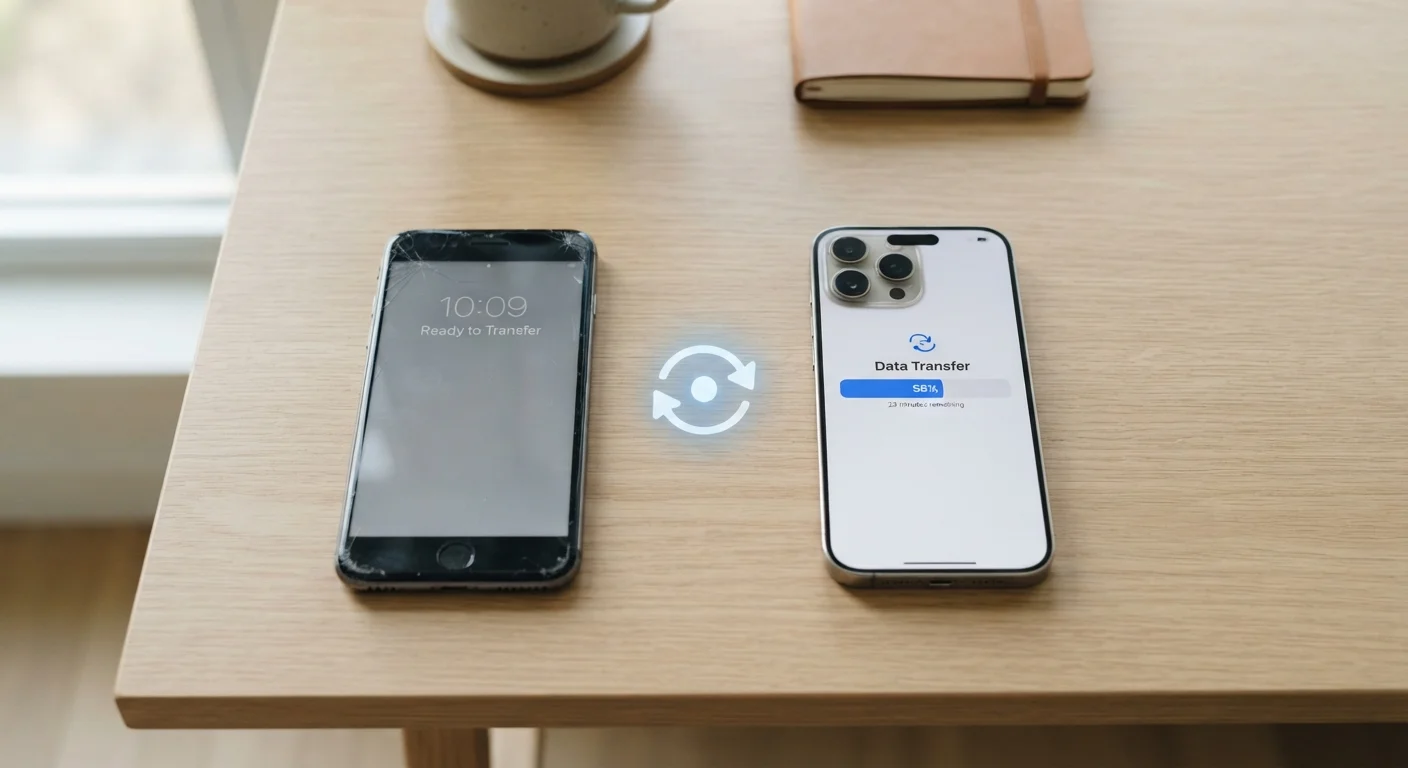
Most data loss during a phone switch isn't caused by technical failure - it's caused by skipping the backup step or starting the transfer before the old phone is fully synced. Photos stored only on-device, authenticator codes, and SMS threads are the most frequent casualties. Understanding what each transfer method actually moves helps you avoid unpleasant surprises.
The broad categories of data to account for are:
- Contacts and calendar events - generally the easiest to transfer via your Google or Apple account
- Photos and videos - large and transfer-time-intensive; cloud sync is the most reliable method
- Apps - the app list can be restored, but app data varies widely by developer
- Text messages - straightforward within the same platform; complicated across platforms
- Passwords and secure data - require encrypted backups or dedicated password manager apps
If you're still deciding whether it's actually time to upgrade, these signals that your handset is genuinely past its prime can help you make that call first.
What you will need
What You'll Need Before Starting
Gathering the right tools and credentials before you begin prevents the transfer from stalling partway through. Having your account logins, a solid Wi-Fi connection, and adequate storage lined up in advance is the difference between a smooth 30-minute process and a frustrating multi-hour one.
iCloud or Google One (cloud backup)
Creates a full wireless backup of your phone's data that can be restored on your new device.
USB transfer cable or adapter
Enables a direct wired data transfer between phones or from phone to computer - faster and more reliable than wireless for large transfers.
Android's 'Switch to Android' app (iOS users moving to Android)
Google's official app for transferring contacts, photos, messages, and calendar events from iPhone to Android.
Apple's 'Move to iOS' app (Android users moving to iPhone)
Apple's official Android app that wirelessly moves messages, photos, contacts, and accounts to a new iPhone.
Computer with iTunes or Finder (iPhone users)
Allows a local encrypted backup of your iPhone, including passwords and health data not covered by standard iCloud backups.
Back up your old phone completely
This is the single most important step. A current backup ensures nothing is permanently lost if the transfer hits a snag.
- iPhone: Go to Settings → tap your name → iCloud → iCloud Backup → Back Up Now. For a local backup that includes saved passwords and Health data, connect to a Mac or PC and use Finder (macOS Catalina and later) or iTunes (Windows/older macOS), then choose Encrypt local backup.
- Android: Go to Settings → System → Backup → Back up now. Your Google account will save contacts, calendar, app list, and most app data. Photos back up via Google Photos if that app is enabled.
Sync or export any data not covered by automatic backups
Automatic backups don't catch everything. Take a few minutes to manually handle these common gaps:
- Text messages: Standard cloud backups include iMessage threads on iPhone and SMS on Android, but cross-platform texts won't carry over automatically. Third-party apps (check your app store) can export SMS logs as files if archiving messages matters to you.
- Authenticator app codes: Two-factor authentication apps like Google Authenticator or Authy store codes locally. Transfer or export these before moving, or you may be locked out of accounts.
- Photos and videos not yet backed up: Confirm your camera roll is fully synced to iCloud Photos or Google Photos.
Choose your transfer method
Your path forward depends on which platforms you're moving between.
- iPhone to iPhone: Use Quick Start - place both phones near each other during new iPhone setup. It transfers nearly everything wirelessly, or faster via a Lightning-to-Lightning or USB-C cable.
- Android to Android: Most manufacturers (Google, Samsung, etc.) include a built-in setup wizard that pulls data from your Google account and can use a USB cable for a faster local transfer.
- Android to iPhone: Install Apple's free Move to iOS app on your Android device and run it during iPhone setup. It moves contacts, photos, videos, message history, and some account data.
- iPhone to Android: Google's Switch to Android app on iPhone transfers contacts, photos, calendar events, and messages to a new Android phone.
Reinstall and log in to your apps
Apps themselves rarely transfer directly between platforms - they need to be reinstalled from your app store. Your new phone's setup wizard may present a list of apps from your previous device's backup to reinstall in one batch.
Key things to check after reinstall:
- Log back in to each app, especially banking, streaming, and email apps.
- Paid apps purchased on one platform (iOS App Store vs. Google Play) do not carry over to the other. You may need to repurchase some apps.
- App-specific data (game progress, settings) may or may not restore depending on whether the developer uses cloud saves.
Transfer your SIM or set up eSIM
Your phone number and cellular service move with your SIM card or eSIM profile - not with the data transfer.
- Physical SIM: Pop the SIM from your old phone and insert it into the new one using the included SIM tool, if the card size matches. If not, contact your carrier for a replacement.
- eSIM: Log in to your carrier's app or account portal to transfer your eSIM profile to your new device. Some carriers do this automatically; others require a brief call or chat. See our guide to how eSIM works for a fuller explanation of the process.
Verify everything before wiping your old phone
Spend at least a day using your new phone normally before doing anything permanent with the old one. Check:
- Contacts are present and complete
- Photos and videos are accessible
- Key apps are installed and working
- Emails and calendars are syncing
- Text history is visible (if it was important to you)
Only after you're confident in the transfer should you sign out of your accounts on the old phone and perform a factory reset before selling, trading in, or recycling it.
After the Transfer: What to Check
A successful data transfer is only the beginning. The way your new phone is configured out of the box - its default app permissions, notification settings, and battery behavior - may not match your preferences or protect your privacy the way you'd like.
Set Up Your New Phone Fresh After Transfer
Once your data has moved over, take 15 minutes to review key settings - notifications, privacy permissions, and display preferences often reset to defaults. Our guide to phone settings most people overlook covers the most impactful ones to check right away.
Sign Out of Accounts Before You Hand Off the Old Phone
Before factory-resetting your old device, sign out of iCloud (iPhone) or your Google account (Android). Failing to do this can activate Activation Lock or Factory Reset Protection, making the device unusable for the next owner - including trade-in programs. Go to Settings, tap your account name, and choose Sign Out or Remove Account first.
It's also worth thinking about whether the storage tier you chose will serve you long-term. Photo libraries and app data grow steadily over time, and running out of space mid-cycle is a common complaint. Understanding how much storage you actually need before that becomes a problem is worth a few minutes of review.
The content on this site is for informational purposes only and is not a substitute for professional advice. Always consult a qualified professional for guidance specific to your situation.