

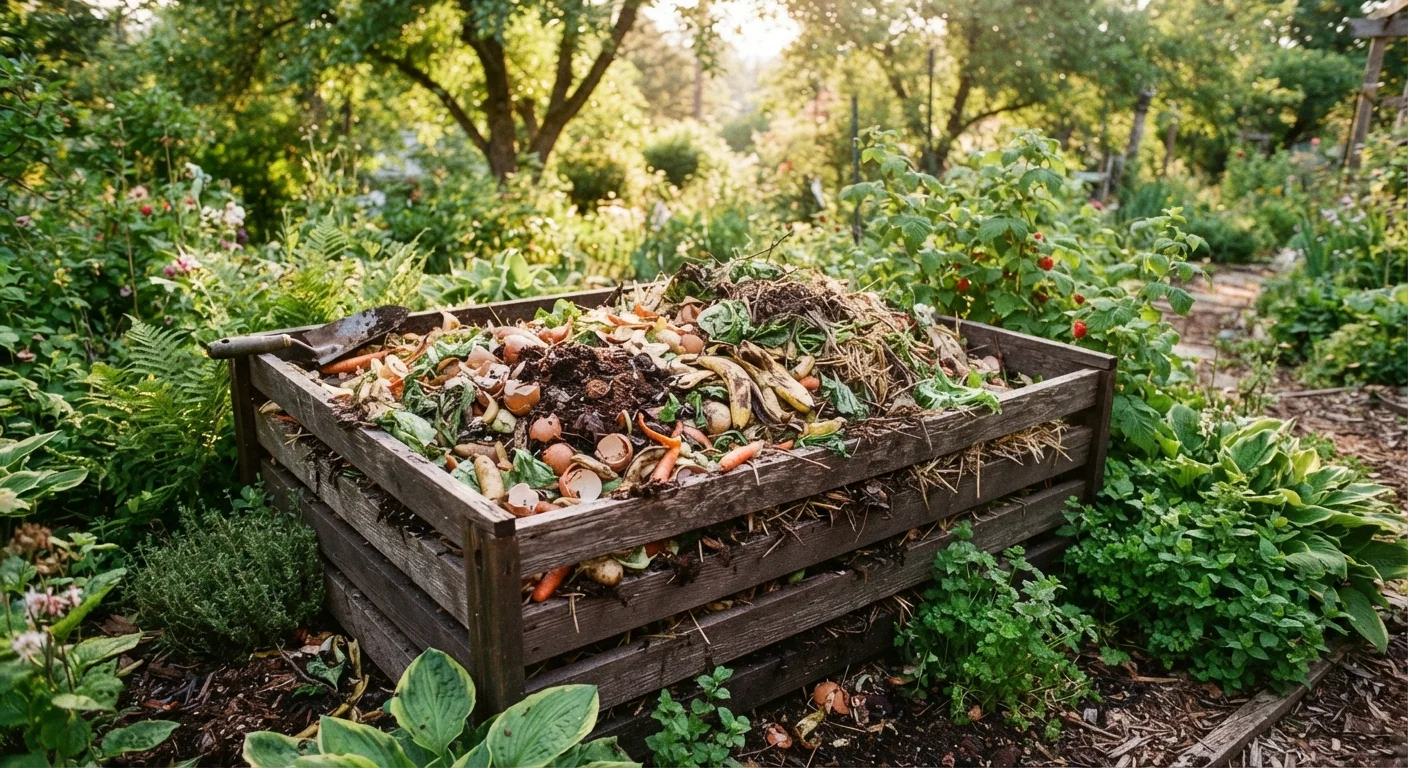
Why Composting Is Worth the Effort
Composting is one of the highest-leverage things a home gardener can do. Rather than sending vegetable peels, coffee grounds, and yard clippings to the landfill, you're redirecting them into a living process that produces humus-a dark, crumbly material that improves nearly every soil type. It boosts drainage in clay soils, adds moisture retention in sandy ones, and feeds the microbial communities plants depend on.
You don't need a large yard or expensive equipment to get started. A simple pile in a corner, a basic bin, or even a small tumbler on a patio will do. If you're already thinking about improving your garden's foundation, composting pairs well with broader soil amendment strategies that can further transform your growing beds.
Start Small and Build the Habit
You don't need to compost everything from day one. Start by diverting just vegetable peels and coffee grounds, then add more materials as the process becomes routine. A consistent small pile outperforms an ambitious pile that gets neglected.
What to Add-and What to Leave Out
Composting works through the balance of two material types:
- Browns (carbon-rich): dry leaves, cardboard torn into small pieces, paper bags, straw, wood chips, and paper towels
- Greens (nitrogen-rich): fruit and vegetable scraps, coffee grounds and filters, tea bags (remove staples), fresh grass clippings, and plant trimmings
A common rule of thumb is roughly two to three parts browns for every one part greens by volume. Too many greens and the pile turns slimy and smells; too many browns and decomposition stalls.
Avoid These Common Additions
Meat, dairy, oily foods, and pet waste can attract rodents and other pests, introduce harmful pathogens, and create persistent odor problems that are difficult to correct. Even in well-sealed bins, these materials typically cause more trouble than they're worth in a home composting setup.
Keep these materials out entirely:
- Meat, fish, and bones
- Dairy products and eggs
- Oily or greasy foods
- Pet waste
- Diseased plants or weeds that have gone to seed
These either attract pests, introduce pathogens, or create persistent odor problems. Even well-intentioned additions like citrus peels are fine in moderation-just don't add them in large quantities all at once.
Setting Up Your Compost System
Before you add your first scrap, decide on a setup that fits your space and habits. Options range from a simple open pile to a three-bin system for serious gardeners. For most households, a single enclosed bin placed in a partially shaded spot works well.
What you will need
Choose a location with good drainage and reasonable access-you'll be visiting it regularly. Placing the bin directly on soil (rather than concrete) allows worms and beneficial organisms to migrate in from below.
Choose and position your bin or pile area
Select a spot that's convenient to reach but out of the way of main garden activity. An area with partial shade helps retain moisture in summer without staying too wet. Mark out a space at least 3 feet square-enough volume for the pile to generate heat.
Lay a base layer of coarse browns
Start with a 4-6 inch layer of coarse material like wood chips, straw, or torn cardboard directly on the ground. This base layer improves airflow from the bottom of the pile and helps with drainage, preventing the soggy conditions that cause odor.
Add alternating layers of greens and browns
Build the pile in layers: a few inches of greens (kitchen scraps, fresh trimmings), followed by a thicker layer of browns. You don't need to be precise-think of it as loosely alternating rather than a strict formula. Bury food scraps in the middle of the pile rather than leaving them on top.
Maintain moisture and aeration
The pile should feel like a wrung-out sponge-damp but not dripping. If it's too dry, add water with a hose or watering can. If too wet, mix in dry browns. Turn the pile every one to two weeks using a garden fork to introduce oxygen, which feeds the microorganisms doing the work.
Harvest finished compost
After two to six months-depending on materials and how actively you've managed the pile-the bottom layers should be dark, crumbly, and earthy-smelling with no identifiable original materials remaining. Use a garden fork or screen to separate finished compost from any unfinished material, which goes back into the active pile.
Once your pile is established, you'll add to it regularly and check conditions every week or two. Finished compost-ready to use when it looks and smells like rich soil-can be worked into planting beds, added to potting mixes, or spread as a top dressing. If you're building a garden from scratch, our beginner's garden primer covers how to integrate compost into your first season's soil prep.
Troubleshooting Common Problems
Even well-managed piles occasionally run into issues. Here's how to read what the pile is telling you:
| Symptom | Likely Cause | Fix |
|---|---|---|
| Rotten egg smell | Too wet or too many greens | Add browns, turn the pile |
| No activity or heat | Too dry or too many browns | Add water and green material |
| Pest activity | Food scraps exposed or wrong materials added | Bury scraps deeper, check what's going in |
| Pile not shrinking | Pieces too large to break down quickly | Chop or shred materials before adding |
Most problems resolve within a week of corrective action. Composting rewards consistency more than perfection-a pile that gets occasional attention will still produce usable compost, just more slowly.
When you're ready to put that finished compost to work, it pairs especially well with raised bed and in-ground planting setups, where improving soil quality makes the biggest difference in plant performance.
The content on this site is for informational purposes only and is not a substitute for professional advice. Always consult a qualified professional for guidance specific to your situation.