

Why Sequencing Matters in Bathroom Remodels
Bathroom renovations have a reputation for ballooning in cost and complexity - and the most common reason is decisions made out of order. When a homeowner falls in love with a vanity before confirming the rough-in dimension, or chooses tile before locking in the shower footprint, expensive corrections follow. Understanding which decisions are load-bearing choices - ones that constrain everything downstream - is the single most useful mental shift you can make before demo day.
Think of the bathroom in three layers: the structure and systems underneath (plumbing, electrical, ventilation), the surfaces applied on top (tile, drywall, paint), and the fixtures and finishes installed last. Decisions in layer one set the rules for layers two and three. Reversing that order is where budgets break. Before you start purchasing anything, review our pre-project renovation checklist to make sure the foundational groundwork is in place.
Fixture Placement and Plumbing Rough-In
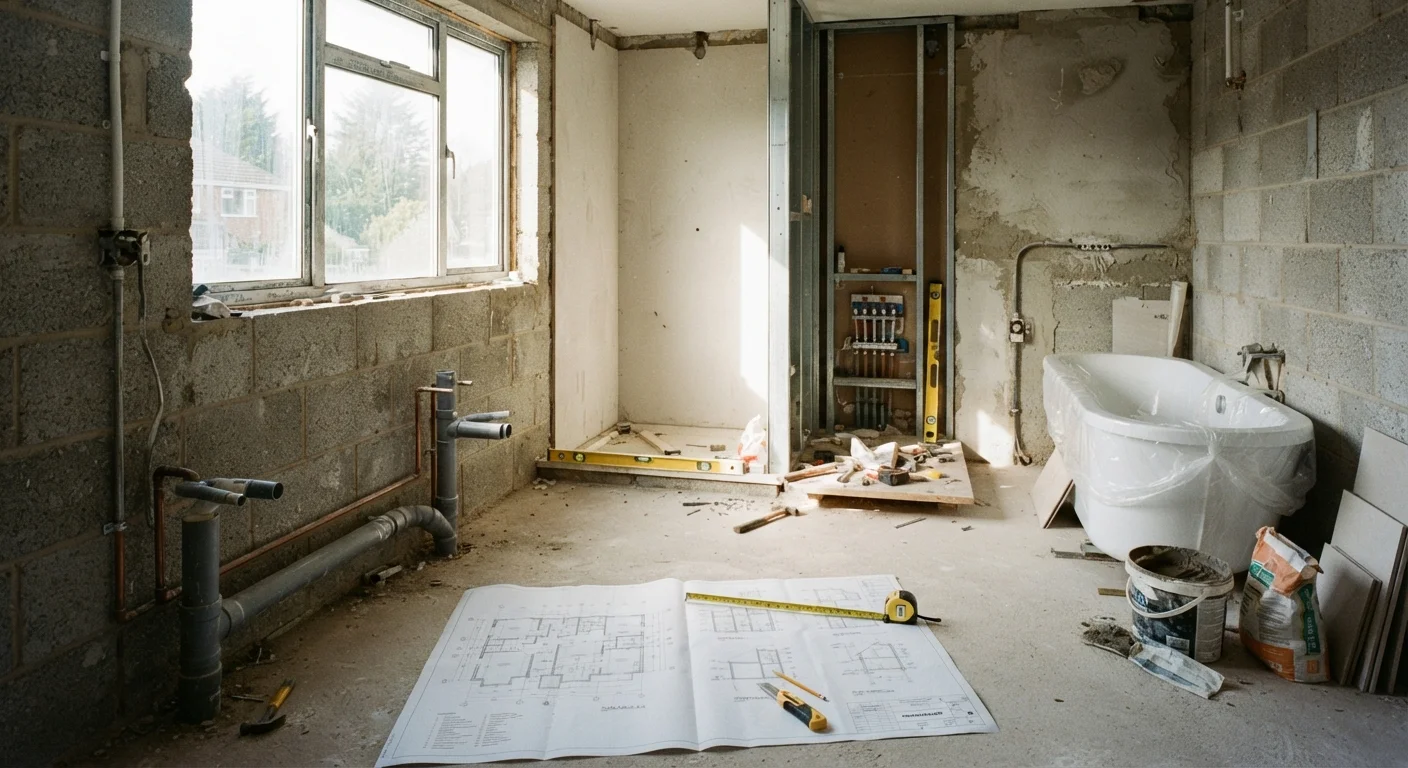
The rough-in is the stage where supply lines, drain lines, and vent stacks are positioned inside walls and floors before any surface is closed up. Once concrete is poured or subfloor is reinstalled, moving a drain is a significant structural and financial undertaking. This is why fixture placement must be finalized before rough-in begins - not after.
Finalize all fixture selections before rough-in begins
Fixtures like toilets, vanities, and tubs each have specific rough-in dimensions and drain locations. Ordering fixtures after rough-in means either returning incompatible products or paying to move plumbing - both costly. Locking in selections first lets your plumber set drains and supply lines with precision.
Map drain slopes and vent stacks before any floor work begins
Drain lines require a consistent slope (typically 1/4 inch per foot) to flow correctly, and they must connect to a vent stack to prevent siphoning. These constraints affect where drains can physically be located given your floor joist direction and depth. Ignoring them leads to either functional drain problems or structural compromises.
Plan exhaust fan duct routing before walls are closed
Once drywall is installed, adding or rerouting fan ductwork requires cutting finished surfaces and patching afterward. Planning the path to an exterior exit - shortest route, fewest bends - during the framing stage costs nothing extra and prevents moisture problems for the life of the bathroom.
Add blocking inside walls for grab bars and future hardware before drywalling
Grab bars and heavy towel bars must anchor into solid backing, not just drywall. Installing blocking - horizontal lumber between studs - before drywall goes up is a 30-minute task. Doing it after requires opening the wall. Even if you don't need grab bars now, blocking makes aging-in-place retrofits straightforward later.
Confirm electrical load capacity before adding heated floors or high-wattage fixtures
Radiant floor heating, high-output exhaust fans, and modern vanity lighting can draw more current than an existing bathroom circuit supports. Adding these without an electrician's assessment risks tripping breakers or, worse, overloading wiring. Electrical panel capacity and circuit routing must be confirmed before tile goes down.
The toilet rough-in dimension - typically 12 inches from the finished wall to the center of the drain - must match the toilet you plan to install. Standard is 12 inches, but some older homes have 10- or 14-inch rough-ins. Ordering a toilet before measuring this is one of the most common and avoidable rookie mistakes.
For showers and tubs, the drain location and the type of drain (linear vs. center) affect both the subfloor slope and the tile layout. Decide on drain style before demo, because it shapes what the floor framing must accommodate.
Ventilation: A Code Requirement, Not an Afterthought
Exhaust ventilation in a bathroom removes moisture that would otherwise cause mold, rot structural framing, and degrade finishes over time. Most US building codes require mechanical ventilation in bathrooms that lack an operable window - and even windowed bathrooms often still require a fan. The HVI recommends a minimum of 1 CFM per square foot of bathroom area, though local codes vary.
Local Codes Vary - Always Verify
Ventilation requirements, minimum CFM ratings, and exhaust termination rules differ by jurisdiction and are updated periodically. The IRC provides a national baseline, but your local building department may have stricter requirements or specific product standards. Always check with your local authority having jurisdiction (AHJ) before finalizing your ventilation plan.
Where the fan exhausts matters as much as whether you have one. Fans must terminate to the exterior - never into an attic or wall cavity. The duct routing needs to be planned before walls close, because adding exterior penetrations after the fact requires opening finished surfaces. If your bathroom shares a wall with an exterior, that's the ideal path. Longer duct runs require higher-powered fans to maintain airflow. For more on what poor renovation ventilation can mean for your home's air quality, see our guide on indoor air quality during renovations.
Layout, Clearances, and What They Lock In
A finalized floor plan does more than determine where things go - it establishes the clearance zones required by code and comfort. The IRC sets minimum clearances for toilets (typically 15 inches from center to any side obstruction, 21 inches of clear floor space in front), but local amendments often require more. Accessibility standards like ADA guidelines, if you're designing for aging in place, require 60-inch turning radius and grab bar blocking inside walls - blocking that must be added before drywall goes up.
Layout also determines your tile grid origin point. Where the floor tile starts relative to the shower pan, the toilet, and the door affects how cuts land at the room's most visible edges. Tile setters plan the grid from the layout; if you finalize tile before layout, you risk awkward slivers at prominent transitions.
Lighting zones follow the same logic. Wet zones (inside or directly above the shower) require fixtures rated for damp or wet locations, and those junction boxes need to be roughed in before drywall. Deciding on a lighted mirror, recessed shower light, or vanity sconces after walls are closed means cutting and patching finished surfaces. Bathroom renovations that address these fundamentals well tend to deliver lasting value - a point worth keeping in mind, as explored in our overview of home improvement projects that hold their value.
Permits, Inspections, and Professional Trade Coordination
Plumbing, electrical, and structural changes in a bathroom almost universally require permits in US jurisdictions. Unpermitted work can complicate home sales, void homeowner's insurance claims, and create liability if something goes wrong. Pull permits before work begins - not as a formality, but because inspections at rough-in stage catch problems before surfaces cover them.
~$10,000-$15,000
Average midrange bathroom remodel cost (US)
According to Remodeling Magazine's Cost vs. Value report, a midrange bathroom remodel typically falls in this range, with costs rising significantly when plumbing is relocated.
60-67%
Average cost recouped on a midrange bathroom remodel
Remodeling Magazine's Cost vs. Value data suggests midrange bathroom remodels commonly recoup this portion of cost at resale, though results vary by market and project scope.
Coordinate your trades in the right sequence: demolition, then rough framing if needed, then plumbing rough-in, then electrical rough-in, then inspections, then insulation, then drywall. Tile, fixtures, and finishes come last. When trades are scheduled out of sequence - say, tile is ordered before plumbing rough-in is inspected - rework ripples through timelines and budgets. Discuss sequencing with your contractor before signing contracts, and ask specifically how change orders are handled if upstream decisions shift.
This article provides general home improvement information and is not a substitute for advice from a licensed contractor, plumber, or local building authority. Always verify permit requirements and code compliance with your local jurisdiction before beginning any renovation work.
The content on this site is for informational purposes only and is not a substitute for professional advice. Always consult a qualified professional for guidance specific to your situation.