

Why Air Leaks Around Windows and Doors Matter
Many homeowners focus on insulation when thinking about energy efficiency, but small gaps around windows and doors are often the bigger culprit. Drafts that slip through failing caulk or weatherstripping can quietly drive up heating and cooling costs season after season. According to the U.S. Department of Energy, sealing air leaks throughout a home - windows and doors being primary targets - can meaningfully reduce energy loss.
The good news is that unlike major insulation upgrades, caulking is something most people can do in an afternoon without professional help. It's exactly the kind of small, preventive step that fits into a seasonal maintenance routine and helps you avoid the compounding costs that come from putting small repairs off.
Feel for Drafts on a Cold Day
The easiest time to spot air leaks is on a cold, windy day. Run your hand slowly around window and door frames and pay attention to any cool air movement. Early morning before your heating system has fully cycled is often the most revealing time to do this check.
What You'll Need Before You Start
Gathering the right materials ahead of time makes the job go smoothly. Here's what to have on hand:
Caulk gun
Dispenses caulk in a controlled, consistent bead along the gap.
Silicone or siliconized latex caulk
Creates a waterproof, flexible seal for exterior window and door joints.
Paintable latex or acrylic caulk
Suitable for interior joints where painting over the caulk is desired.
Utility knife or caulk removal tool
Cuts and lifts away old, cracked caulk from the joint before reapplication.
Painter's tape
Masks the surfaces on either side of the joint for a clean, straight caulk line.
Rubbing alcohol or mild household cleaner
Cleans the joint surface of dirt, grease, and residue so caulk adheres properly.
Damp cloth or sponge
Smooths the fresh caulk bead and wipes away excess before it cures.
What you will need
How to Caulk Windows and Doors: Step-by-Step
Follow these steps carefully and take your time - rushing the prep work is the most common reason caulk fails prematurely. If this is your first time, start with a single interior window to build confidence before tackling exterior gaps.
Inspect and identify all gaps
Walk around the interior and exterior of your home and look closely at the joints where window and door frames meet the surrounding wall. Look for visible cracks, missing sections, or caulk that has shrunk, hardened, or pulled away from the surface. On a cold or windy day, you can hold a lit incense stick or a thin strip of tissue near suspected gaps - movement indicates airflow.
Remove all old caulk
Use a utility knife or dedicated caulk removal tool to carefully score and lift away any existing caulk in the joints you plan to reseal. Work slowly to avoid scratching window frames or siding. Once the bulk is removed, use a stiff brush or the edge of a putty knife to clear any remaining fragments from the joint channel.
Clean and dry the surface
Wipe down the joint area with rubbing alcohol or a mild household cleaner to remove dust, grease, mold, or any residue. Allow the surface to dry completely before proceeding. On exterior joints, do not apply caulk if rain is expected within 24 hours or if temperatures are below the caulk manufacturer's recommended range.
Apply painter's tape (optional but recommended)
If you want a crisp, professional finish, apply painter's tape to the surfaces on either side of the joint - approximately 3-5 mm from the edge of the gap. This keeps stray caulk off the frame and wall and makes cleanup much easier, especially for beginners.
Load and cut the caulk tube
Insert the caulk tube into the caulk gun and cut the nozzle tip at a 45-degree angle. Start with a small opening - about 3-4 mm - and widen it only if the gap is particularly large. Puncture the inner foil seal with a nail or the built-in wire on the caulk gun if present.
Apply the caulk bead
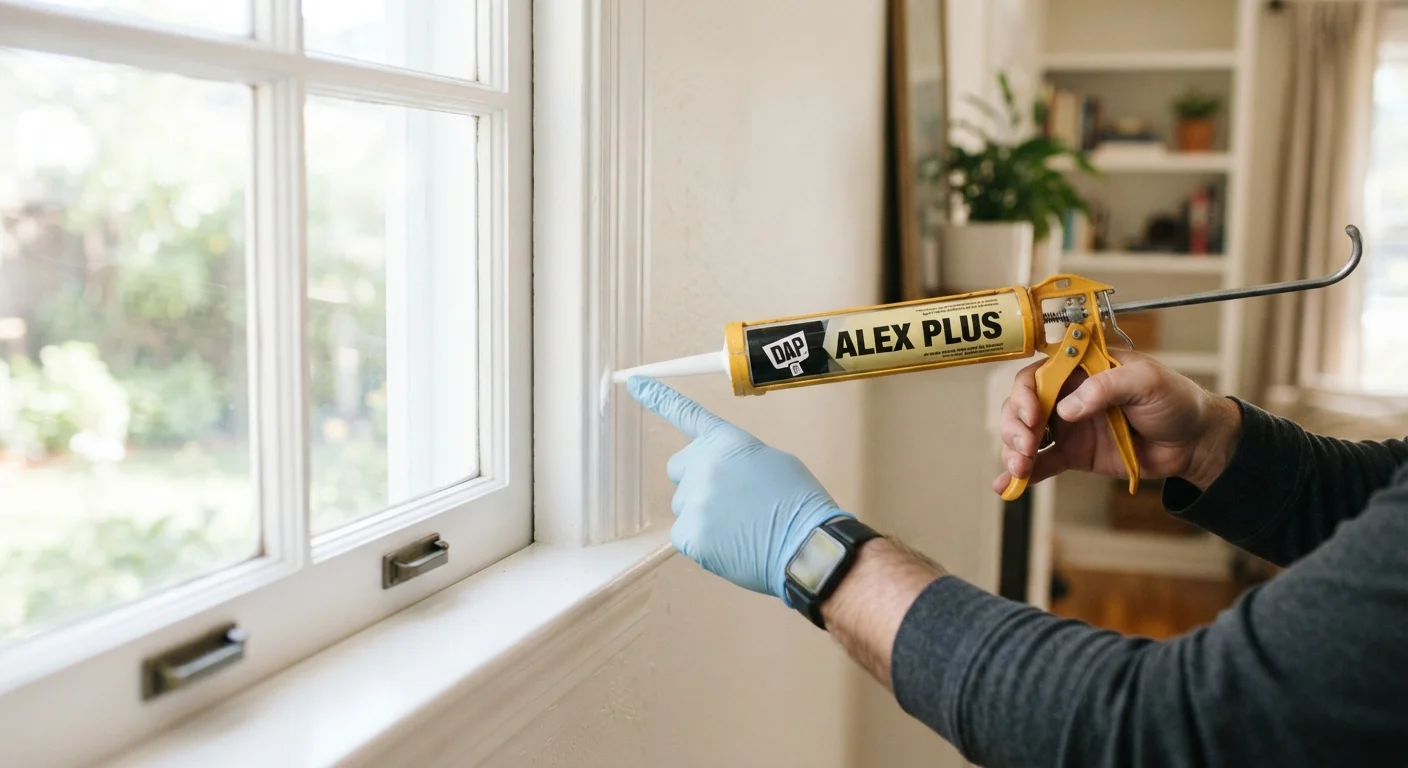
Hold the caulk gun at a 45-degree angle to the joint and apply steady, even pressure as you draw it along the full length of the gap in one continuous motion. Keep the gun moving at a consistent pace - moving too slowly leads to excess buildup, while moving too quickly creates gaps in coverage.
Smooth and finish the bead
Immediately after applying the caulk, run a wet fingertip or a caulk-smoothing tool firmly along the bead in one direction. This presses the caulk into the joint for better adhesion and leaves a clean, concave profile. If you used painter's tape, remove it while the caulk is still wet, pulling it back at a 45-degree angle.
Allow to cure fully before exposing to moisture
Check the caulk packaging for the recommended cure time - most products are touch-dry within 30 minutes but require 24 hours or more to fully cure. Avoid exposing exterior joints to rain during this period. Do not paint over latex caulk until it has fully cured, or the paint may crack as the caulk continues to dry and flex.
Exterior Work on Older Homes
Homes built before 1978 may have paint containing lead, and disturbing painted surfaces - including around window and door frames - can release lead dust. If your home is older and you're unsure about the paint history, consider having surfaces tested before scraping or cutting. Contact your local health department for guidance on safe practices.
Once you've completed the job, consider pairing it with other seasonal sealing measures. Our guide on weatherproofing your home for winter covers additional steps worth taking each fall. And if the cost of supplies is a concern, small home improvement expenses like this are worth factoring into your budget - see our guidance on making room for savings for practical ideas.
Common Mistakes and How to Avoid Them
Even a simple task like caulking has a few pitfalls that can undermine your results:
- Skipping surface prep: Applying new caulk over old, dirty, or wet surfaces is one of the top reasons caulk peels within a season. Always clean and fully dry the area first.
- Using the wrong caulk type: Paintable latex caulk is fine for most interior trim work, but exterior joints need a flexible, waterproof silicone or siliconized latex product that can handle temperature swings.
- Applying too much at once: A thin, consistent bead is easier to tool and adheres better than a thick glob. Less is often more.
- Not smoothing the bead: An unsmoothed bead leaves gaps and looks unfinished. Always run a wet finger or caulk tool along the bead before it skins over.
These are the kinds of DIY misconceptions that are easy to avoid once you know what to look for. With the right preparation and materials, caulking is a genuinely satisfying task with results you can feel immediately.
Permits Are Rarely Required - But Check First
Caulking is generally considered routine maintenance and does not require a building permit in most jurisdictions. However, if your work is part of a larger window replacement or structural repair project, permit rules may apply. Always verify local requirements with your municipality before starting any connected project.
The content on this site is for informational purposes only and is not a substitute for professional advice. Always consult a qualified professional for guidance specific to your situation.