

Why Fall Is the Right Time to Act
Winter doesn't announce itself politely. Temperatures drop, storms roll in, and any weak point in your home's defenses can quickly turn into a costly repair. The good news is that most winterizing tasks are manageable, affordable, and well within the reach of a motivated homeowner or renter - when done early enough.
Fall is the ideal window because materials like caulk and weatherstripping adhere and set better above freezing, contractors are easier to schedule before the holiday rush, and you have time to spot problems before they become emergencies. Think of it as routine care, not crisis response. This checklist covers the tasks that consistently make the biggest difference, starting with the ones that protect your home's structure and systems. For a broader year-round view, see our seasonal home maintenance calendar for US households.
Seal Windows and Doors Against Air Leaks
Air leaks are among the most common - and most fixable - sources of heat loss in a home. On a cold day, hold your hand near window frames, door edges, and electrical outlets on exterior walls. Any noticeable draft points to a gap that's costing you comfort and energy.
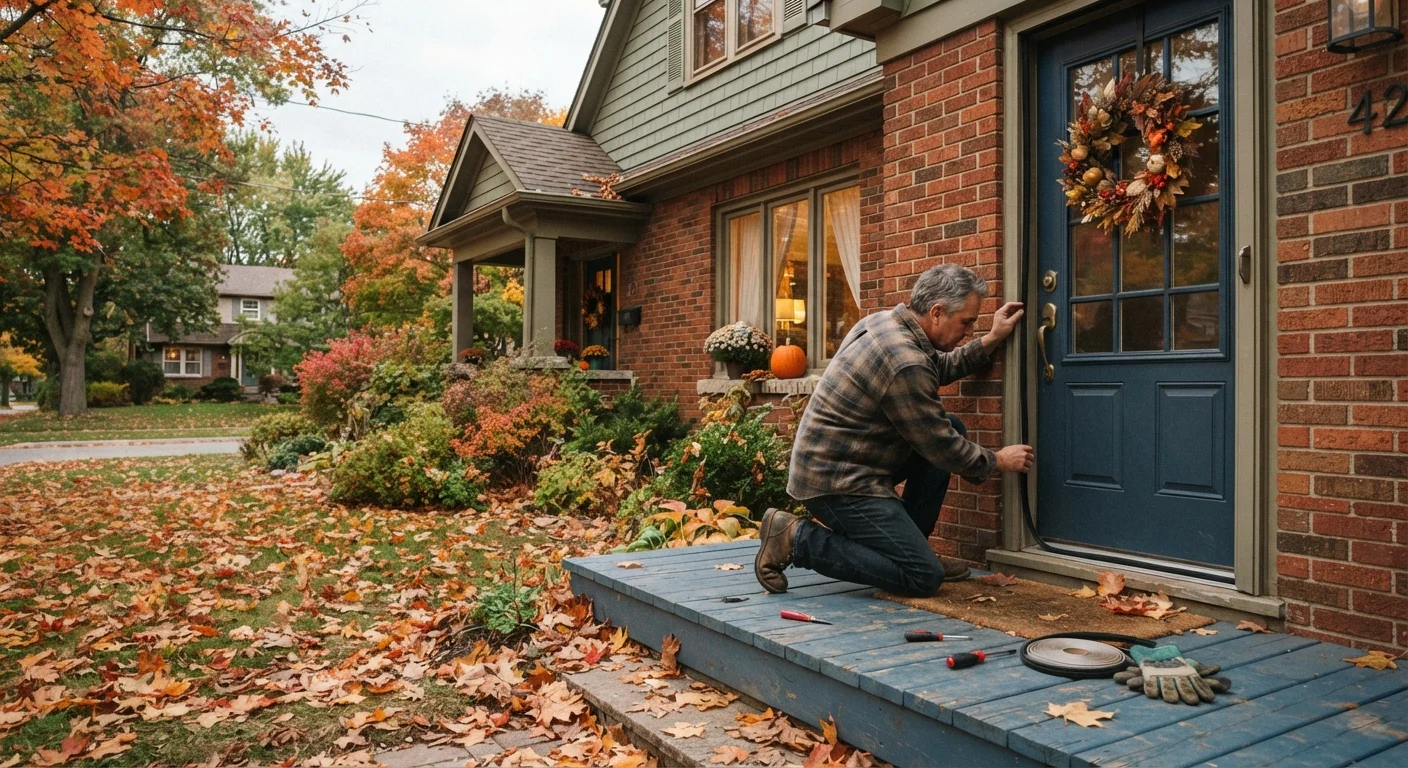
Weatherstripping along door edges and bottoms is inexpensive and typically requires no special tools. For gaps around window and door frames, exterior-grade caulk fills cracks and seals out both cold air and moisture. Look for gaps, cracks, and deteriorated old caulk before applying new material. Our companion article on caulking windows and doors walks through the process step by step.
A simple hand test near window frames can reveal drafts worth sealing before the cold arrives.
Inspect and Clean the Gutters
Clogged gutters are a leading cause of ice dams - a winter problem where water backs up under shingles and leaks into the home. Before freezing temperatures set in, clear gutters of fallen leaves, seed pods, and debris. Flush them with a garden hose to confirm water flows freely toward the downspout.
Check that downspouts direct water at least three to four feet away from the foundation. Extensions are inexpensive and easy to attach. While you're at it, look for sections of gutter that are pulling away from the fascia or sagging - these may need to be re-secured before winter precipitation adds weight.
Clean gutters are one of the simplest defenses against ice dams and foundation water intrusion.
Check the Roof for Vulnerable Spots
You don't need to get on the roof yourself - in fact, for safety reasons, most homeowners are better off using binoculars from the ground or hiring a qualified roofing professional for a closer look. What you're watching for are missing or curling shingles, damaged flashing around chimneys or skylights, and any visible gaps or sagging sections.
Even a small compromise in the roof surface can allow water infiltration when snow or ice sits on it for days. Addressing minor issues in fall - before freeze-thaw cycles stress the material further - is significantly less disruptive and costly than repairing water damage to ceilings and insulation mid-winter. Note that roof repairs typically require permits in some jurisdictions; verify local requirements before any structural work.
Catching a small roofing issue in October is far less costly than water damage repairs in February.
Service Your Heating System Before You Need It
A furnace or heat pump that hasn't been serviced in more than a year is a system that could fail when temperatures bottom out. Schedule an annual inspection with a licensed HVAC technician before the heating season begins. They'll check burners, heat exchangers, filters, and safety controls - tasks that are not appropriate for untrained DIY attempts, especially for gas systems.
What homeowners can do themselves: replace or clean the air filter (typically every one to three months depending on household conditions), clear the area around the unit of stored items, and test the thermostat by running a short heat cycle. Also check that heating vents throughout the home are open and unobstructed by furniture or rugs.
Schedule an HVAC service call before the first cold snap - don't wait until the system is actually needed.
Insulate Exposed Pipes in Unheated Spaces
Pipes in unheated areas - basements, crawl spaces, attached garages, and exterior walls - are vulnerable to freezing when temperatures dip below 32°F for extended periods. A burst pipe can release hundreds of gallons of water in a short time, causing severe structural and material damage.
Foam pipe insulation sleeves, available at hardware stores, can be cut to length and slipped over exposed pipes without professional help in most cases. Pay particular attention to pipes near exterior walls or in spaces without heat. Also locate your home's main water shutoff valve now, so you know where it is if a pipe does freeze or burst. In an emergency, turning off the water quickly limits damage significantly.
Foam pipe insulation is one of the lowest-cost investments that protects against one of winter's most damaging scenarios.
Reverse Ceiling Fans and Add Draft Stoppers
Most ceiling fans have a small switch that reverses blade direction. In winter, running the fan clockwise on a low setting pushes warm air that has risen to the ceiling back down into the living space - a simple trick that can improve comfort, especially in rooms with high ceilings.
For exterior doors with visible gaps at the bottom, draft stoppers (also called door snakes or door sweeps) are an easy, no-tools fix. These can be purchased or made from fabric and reduce cold air infiltration noticeably. While neither of these tasks is structural, together they contribute meaningfully to a warmer, more comfortable home without touching the thermostat.
Reversing a ceiling fan takes seconds and helps redistribute warm air you're already paying to generate.
Make It a Habit, Not a Scramble
Weatherproofing works best when it becomes an annual routine rather than a reactive scramble after the first frost. Walk through each of these areas with a simple checklist each September or October, and you'll find that most tasks take only an hour or two - sometimes less. Renters should check with their landlord about which items fall under their responsibility, but many sealing and insulating tasks are renter-friendly with no tools required.
Start With a Simple Walk-Around
Before diving into any task, spend 20 minutes walking around your home's exterior and interior with a notepad. Look for visible cracks, drafts, worn weatherstripping, and any signs of water staining. This quick survey helps you prioritize which tasks genuinely need attention this season versus those that can wait. Working from a specific list is faster and more cost-effective than tackling everything at once.
If your outdoor preparation extends to lawn and garden, our year-round lawn care guide covers what fall tasks help your yard survive winter and bounce back strong in spring. And while you're thinking seasonally, it's also a good time to check your vehicle - our seasonal car care guide outlines the cold-weather checks that keep you safe on winter roads.
The content on this site is for informational purposes only and is not a substitute for professional advice. Always consult a qualified professional for guidance specific to your situation.